
Curly hair and short cuts have a reputation for being tricky to combine, since curls can shrink up more than expected once the length comes off. That uncertainty keeps a lot of people from trying a curly pixie, even though it’s one of the most flattering ways to show off natural texture.
The key to a great curly pixie is cutting it dry, curl by curl, so the stylist can see exactly how each curl will fall before committing to a length. Here are 21 curly pixie ideas to bring to your next appointment.
1. Classic Curly Pixie
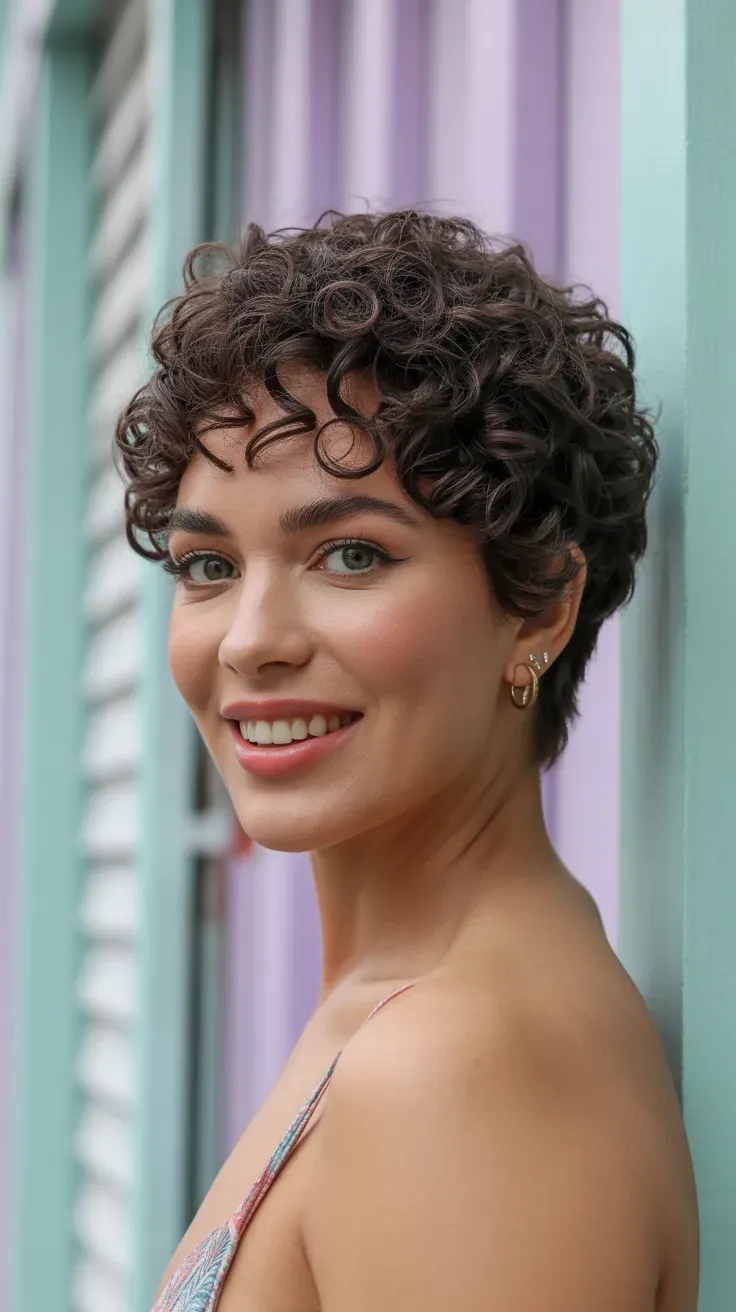
Why it works: A short curly pixie gives each curl the least distance to travel before springing back, which keeps volume close to the scalp and shows off the curl pattern at its most defined. It’s also one of the lowest-maintenance ways to wear natural texture.
Ask for: Ask for “a curly pixie cut dry, curl by curl, rather than in straight sections.”
2. Curly Pixie with Side Fringe
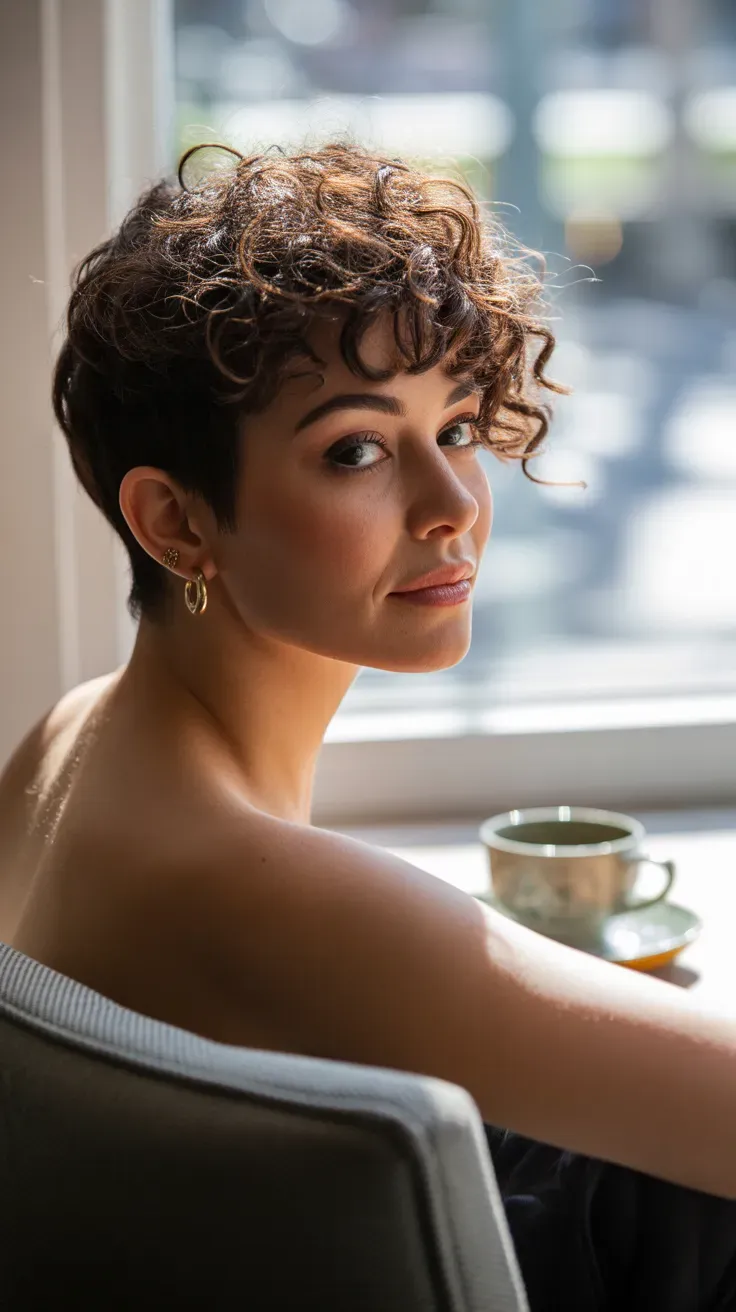
Why it works: Sweeping the fringe to the side rather than cutting it straight across lets the natural curl pattern continue uninterrupted across the whole style. This keeps a short pixie looking cohesive instead of having one flat, separate section.
Ask for: Ask for “a curly pixie with the fringe swept to match the direction of the natural part.”
3. Curly Pixie with Undercut
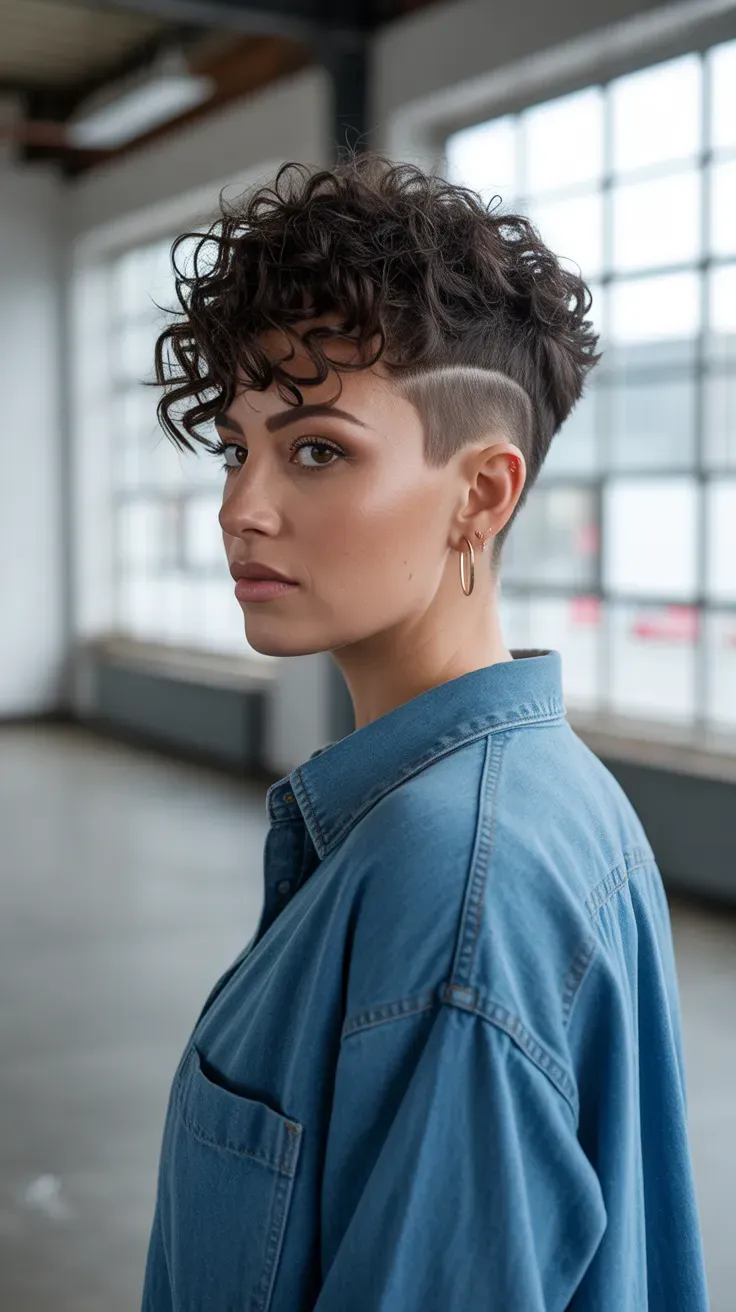
Why it works: Removing weight underneath with a subtle undercut lets the top curls sit up with less resistance, creating extra lift at the crown. It’s a more dramatic option for anyone wanting significant bulk removed while keeping curl density on top.
Ask for: Ask for “a low undercut beneath the nape, with curls left full on top.”
4. Curly Pixie with Micro Bangs
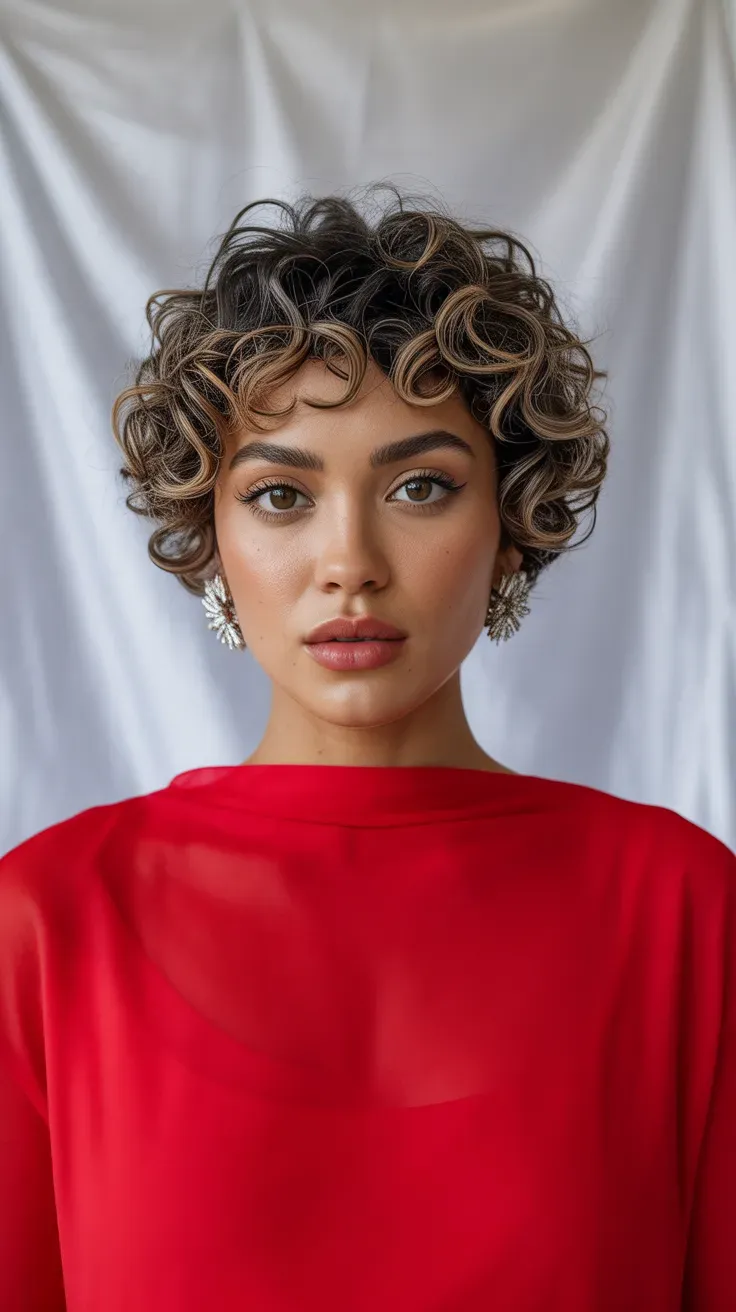
Why it works: Micro bangs cut curl by curl sit high and dense above the brow, adding a bold visual block that suits a shorter, graphic pixie shape. This combination works especially well for those who want their curl pattern to be the main focus.
Ask for: Ask for “micro bangs cut dry, curl by curl, just above the brow.”
5. Tousled Curly Pixie
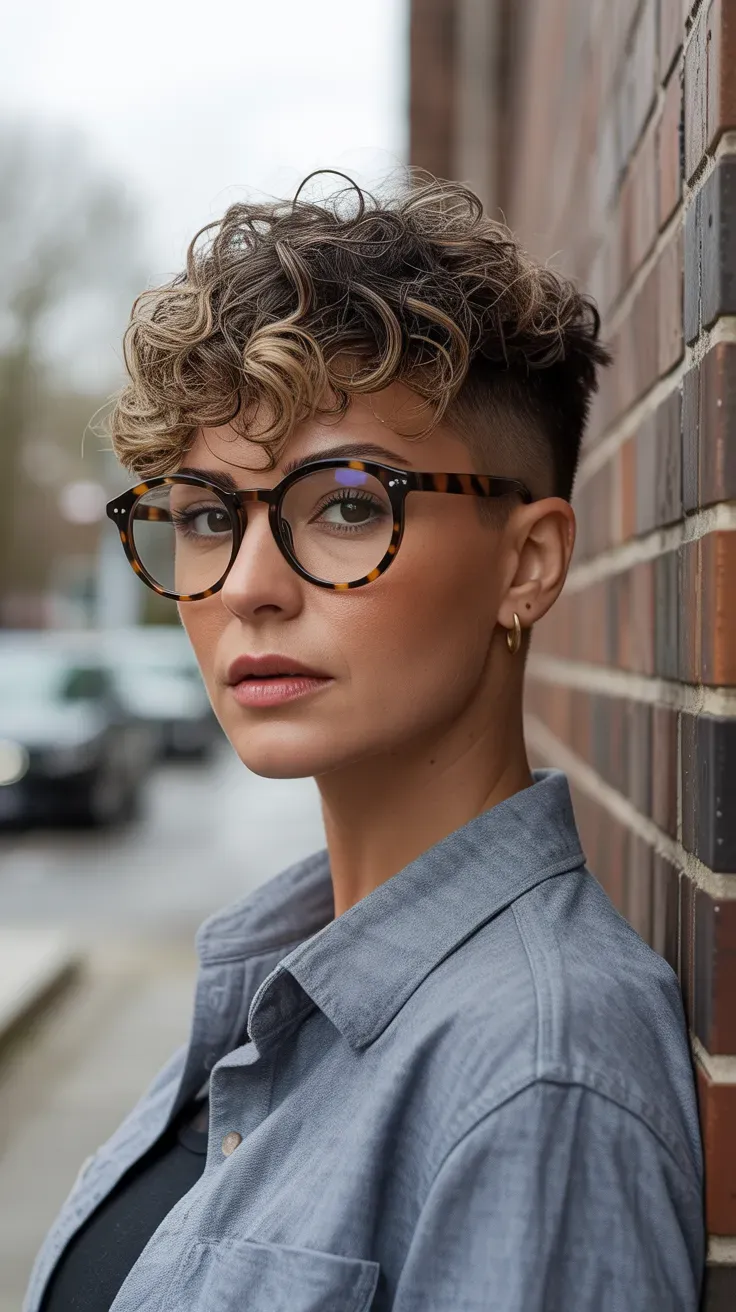
Why it works: Working a small amount of texturizing paste through dry curls adds separation and a slightly undone finish, which suits a more casual, everyday version of the pixie. This technique also helps disguise any thin spots since there’s no smooth surface.
Ask for: Rub a pea-sized amount of texture cream between your palms and scrunch it through dry curls.
6. Curly Pixie with Deep Side Part
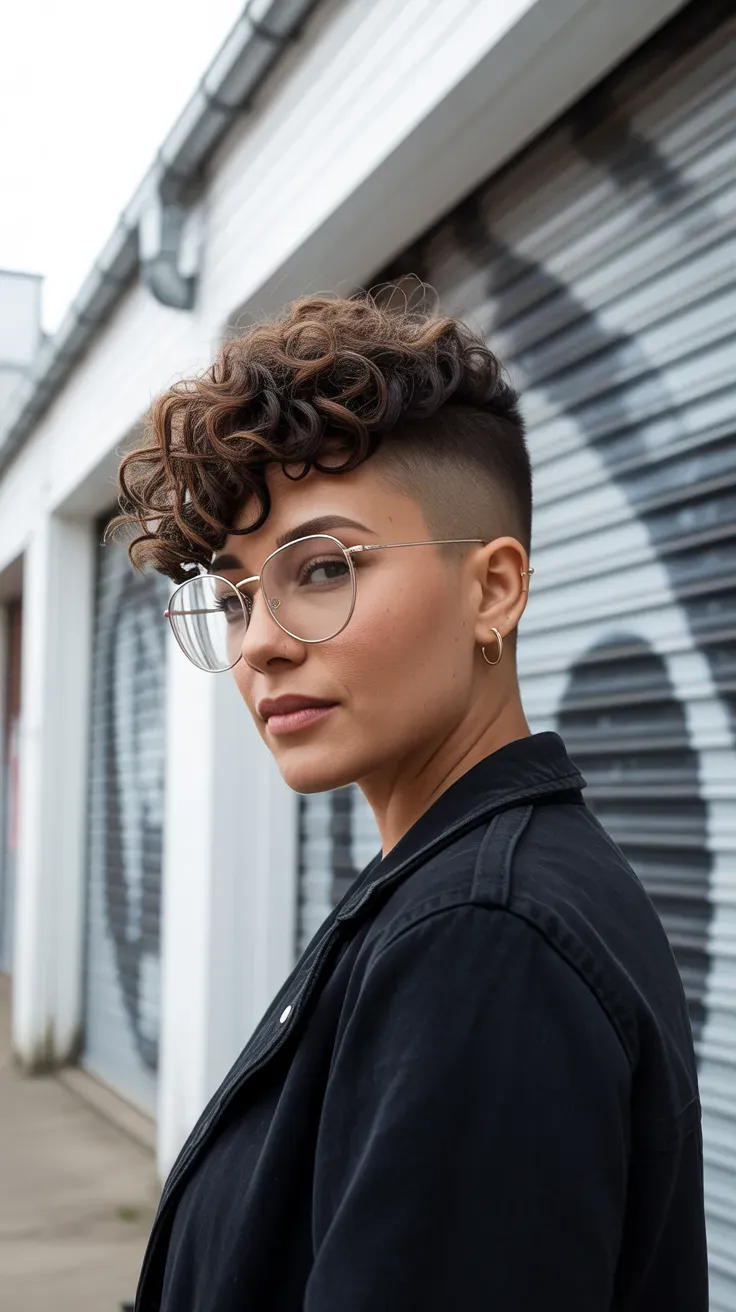
Why it works: A deep side part on a curly pixie piles more curl onto one side, instantly adding visible volume without extra product. It also softens the overall shape compared to a centered part, which can look more severe on shorter curls.
Ask for: Ask for “a curly pixie cut to fall naturally along a deep side part.”
7. Curly Pixie with Longer Top
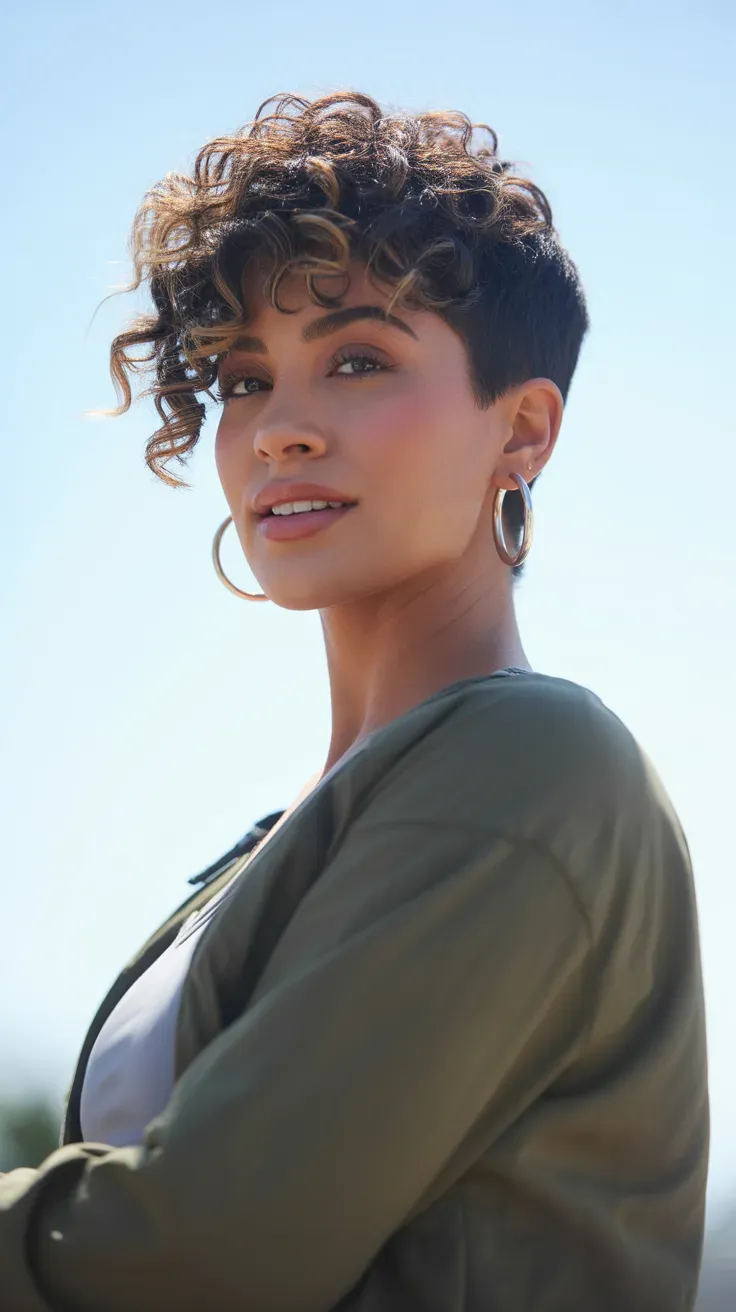
Why it works: Leaving more length through the top curls while keeping the sides and back short gives more styling versatility, since the top can be pushed back, tousled, or left loose. This version suits those who want a pixie with a bit more range.
Ask for: Ask for “a curly pixie with the crown left two to three inches longer than the sides.”
8. Curly Pixie with Fade Sides
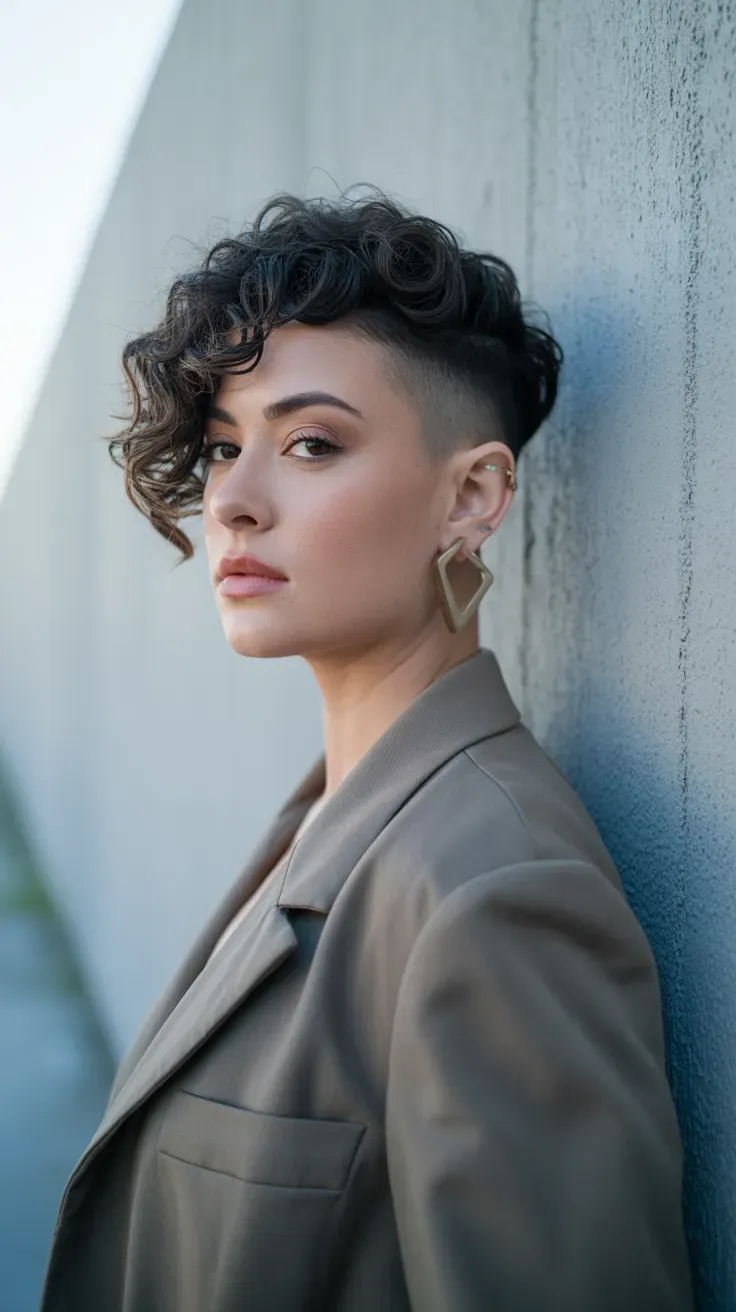
Why it works: A gradual fade at the sides removes weight gradually rather than in one hard line, which keeps the transition into the curly top looking smooth and intentional. This is a more polished, tailored take on the curly pixie.
Ask for: Ask for “a soft fade at the sides blending into curls left full on top.”
9. Curly Pixie with Defined Ringlets
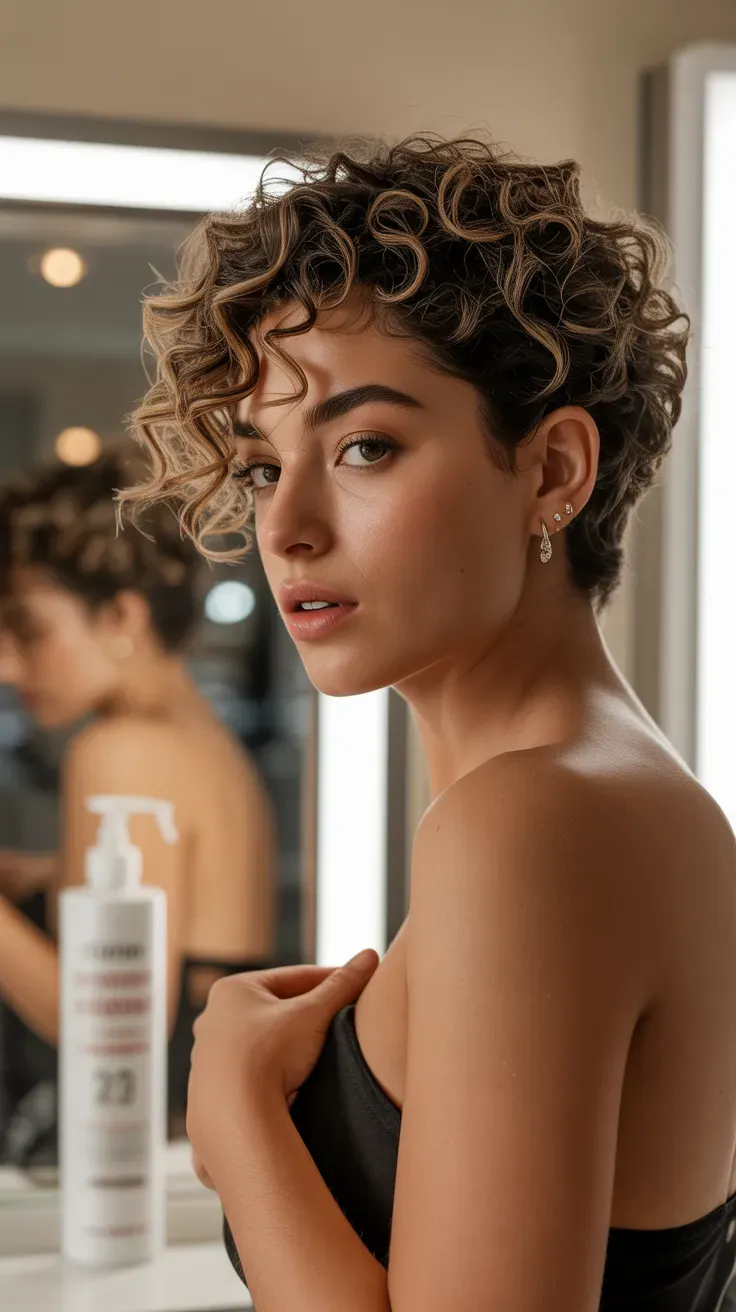
Why it works: Applying a curl-defining cream to damp hair and letting it dry undisturbed keeps each individual ringlet distinct rather than clumping into one loose mass. This gives the pixie a polished, well-defined finish.
Ask for: Rake a curl-defining cream through damp curls, then let them air-dry or diffuse without touching.
10. Curly Pixie with Root Lift
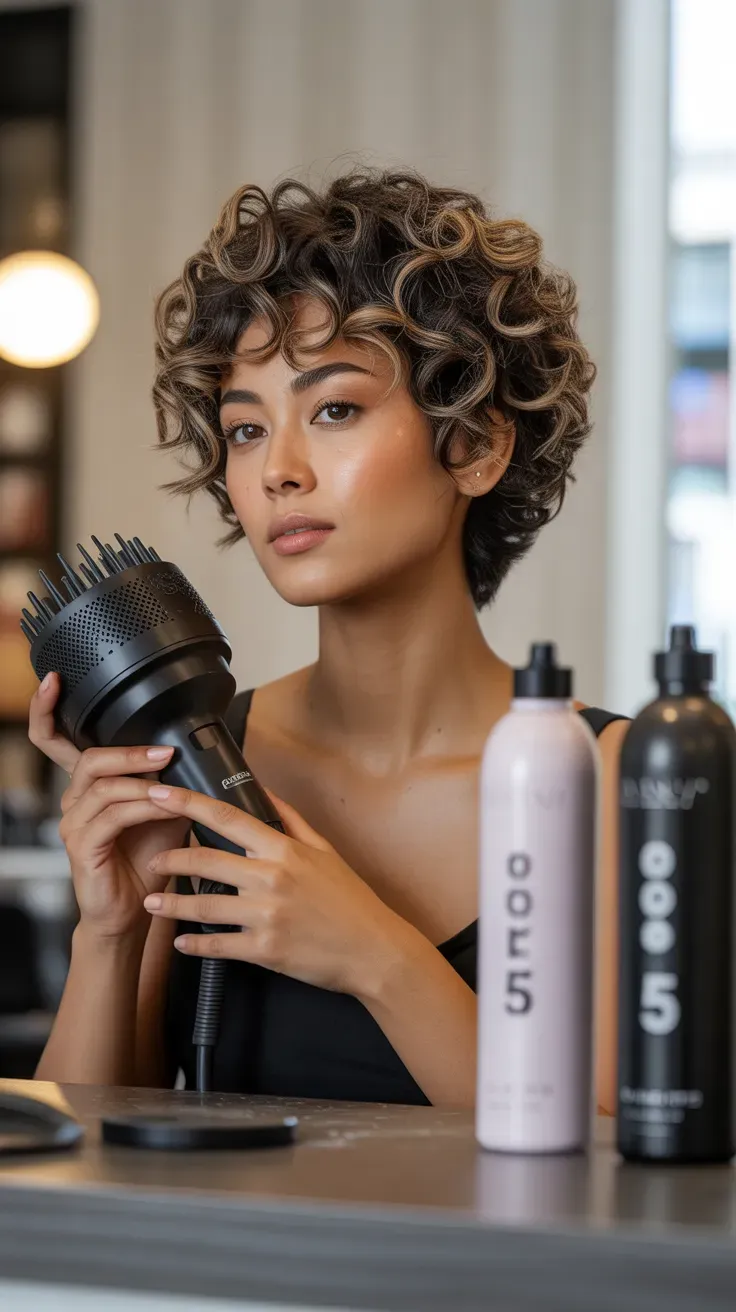
Why it works: Diffusing the roots upward while the rest of the curls set builds volume from the scalp outward, which is especially effective on a shorter cut. This method also reduces the frizz that can come from curls rubbing against each other.
Ask for: Apply mousse to damp curls, then diffuse on low heat while cupping sections upward toward the scalp.
11. Curly Pixie with Textured Crown
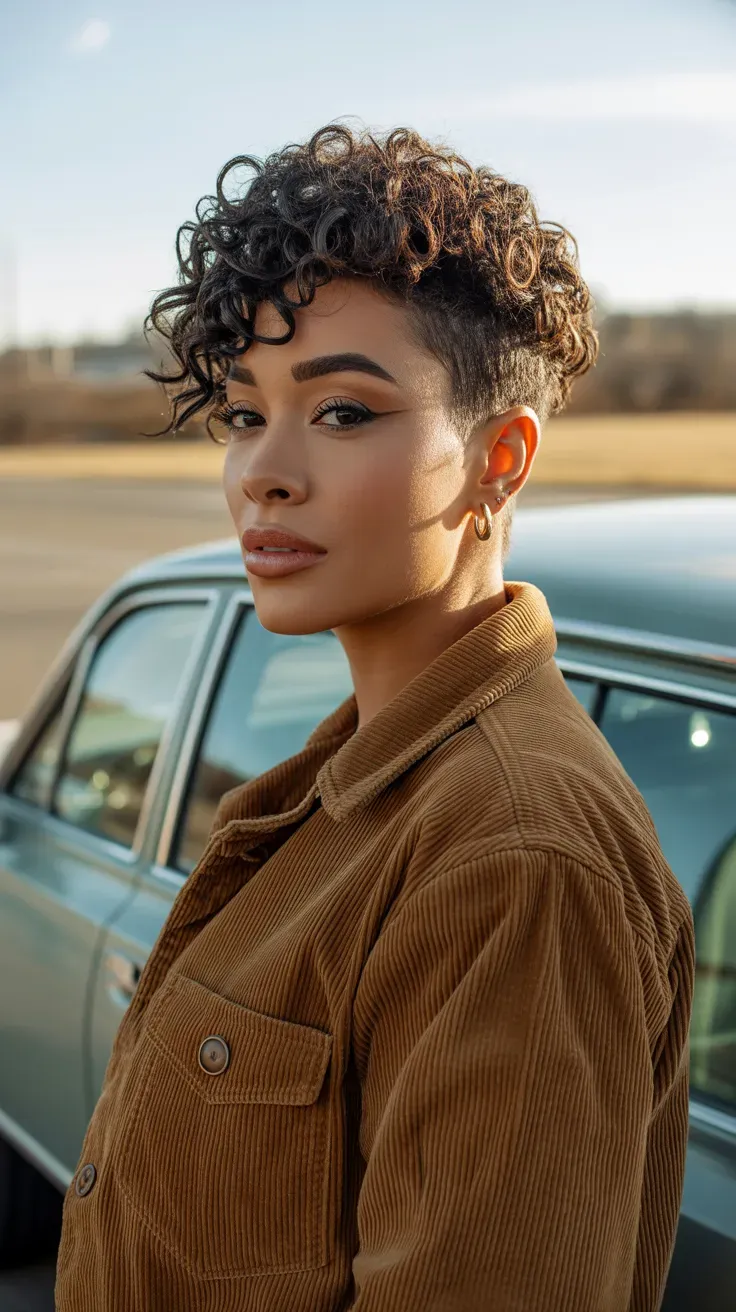
Why it works: Concentrating the heaviest point-cutting at the crown targets the exact area where curls typically compress first under their own volume, adding lift right where it’s needed. The rest of the cut can stay comparatively simpler.
Ask for: Ask for “the heaviest point-cutting focused on the top two inches of the crown.”
12. Curly Pixie with Center Part
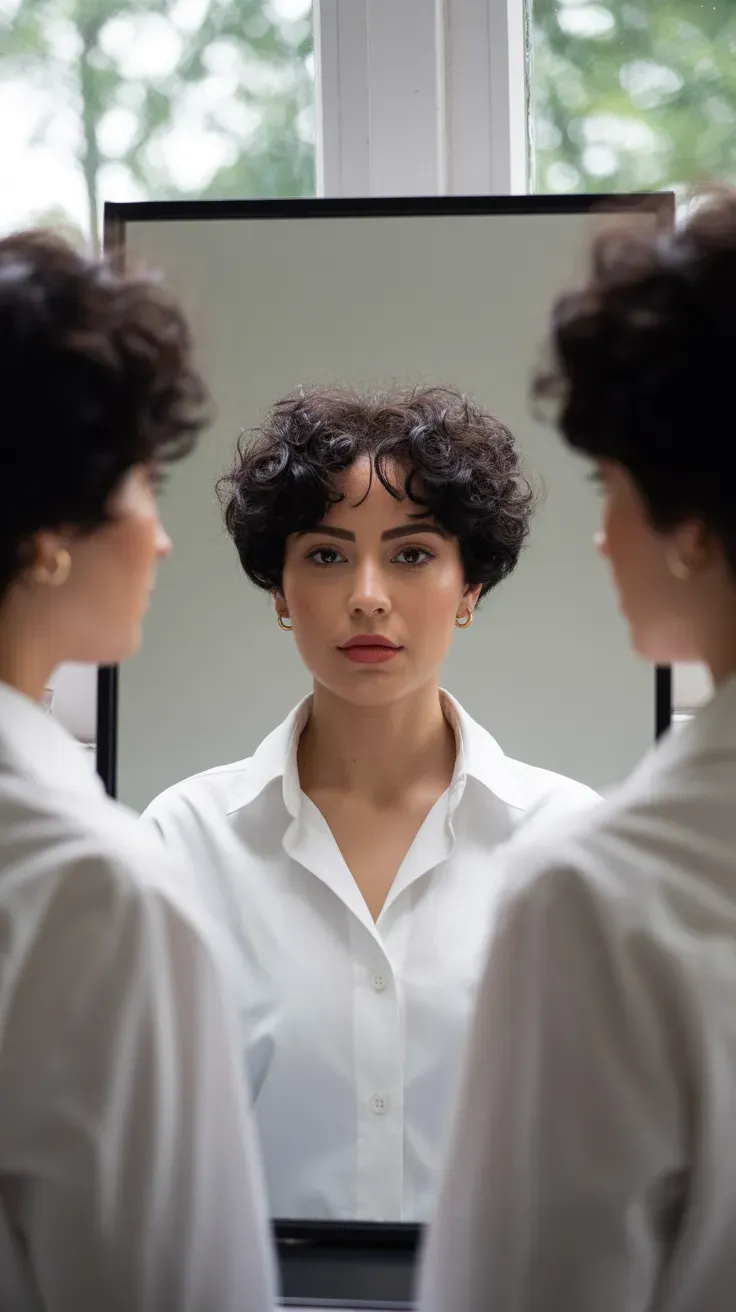
Why it works: A center part lets the curly pixie’s texture fall evenly on both sides, creating balanced, symmetrical volume rather than favoring one side. This works well for rounder curl patterns that hold a defined part.
Ask for: Ask for “a curly pixie cut to mirror each other on both sides of a center part.”
13. Curly Pixie with Asymmetric Length
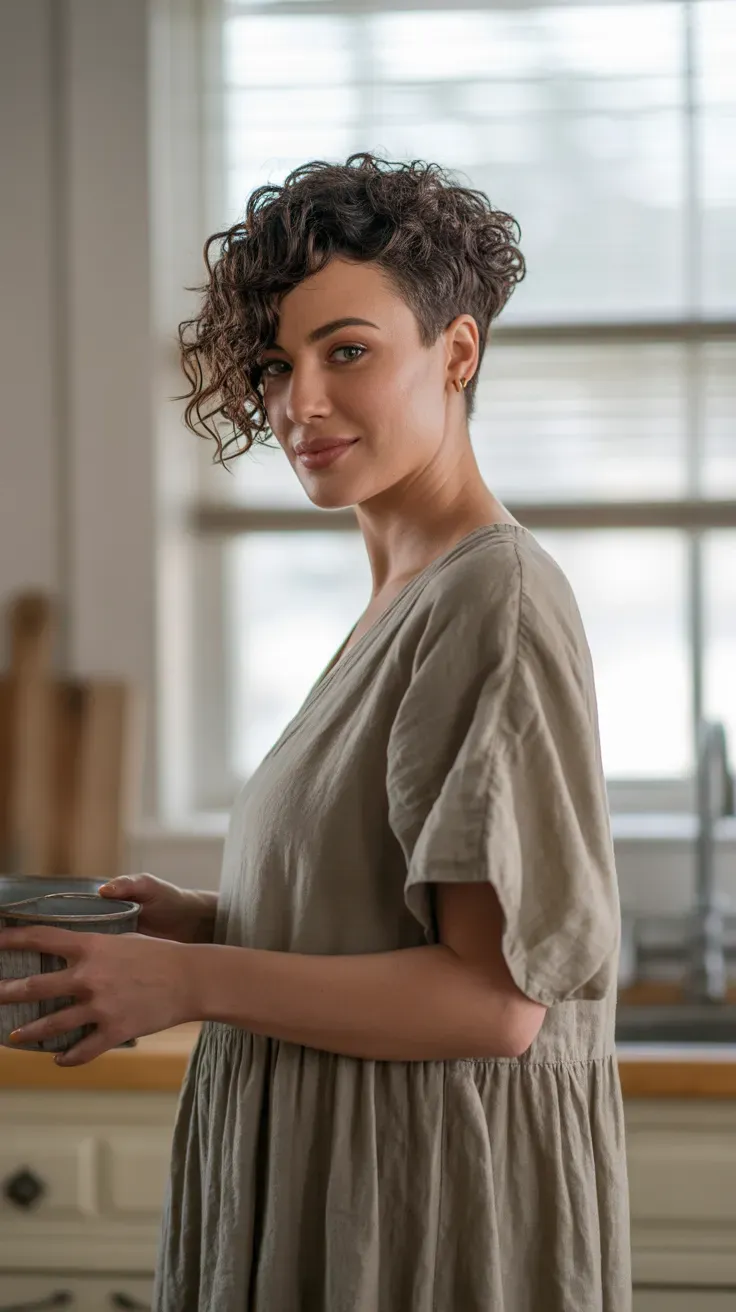
Why it works: A subtle length difference between the two sides creates visual interest and movement that a perfectly even pixie doesn’t have. This slight asymmetry adds a modern, editorial edge to the curly texture.
Ask for: Ask for “a curly pixie with one side cut slightly shorter than the other, blended gradually.”
14. Curly Pixie with Wash-and-Go Finish
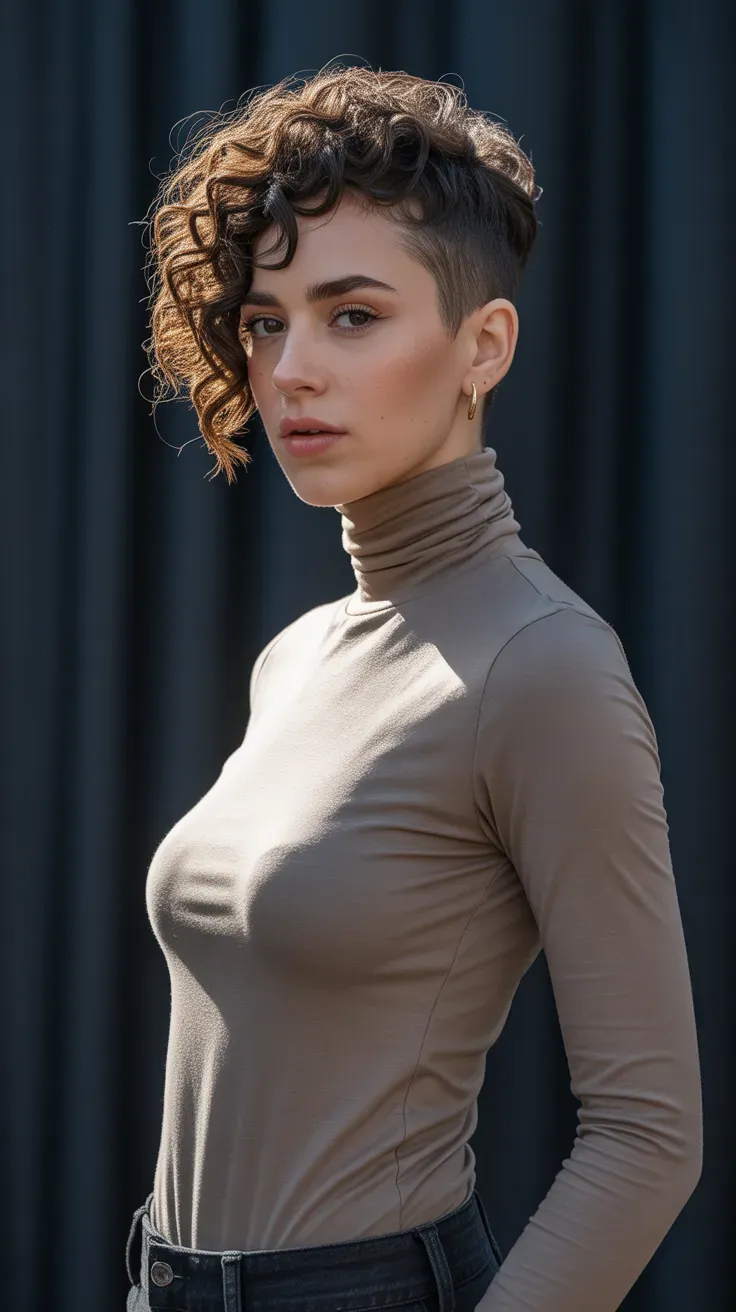
Why it works: Letting curls air-dry with a lightweight cream avoids the heat exposure that can loosen fine curl patterns over time. This is the lowest-maintenance way to wear a curly pixie day to day.
Ask for: Scrunch a lightweight curl cream through damp hair and let it air-dry undisturbed until fully set.
15. Curly Pixie with Glossy Curl Definition
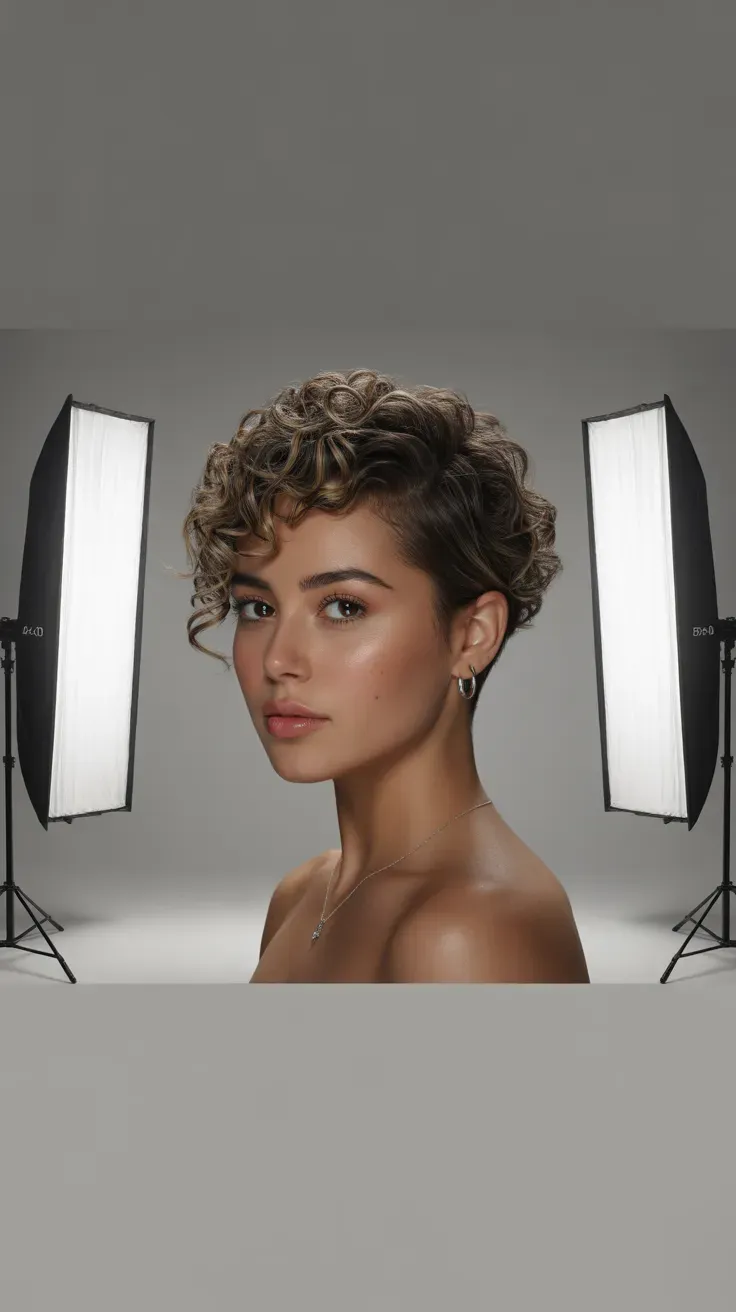
Why it works: A glossing product smooths the outer layer of each curl, reducing frizz and adding shine that makes the curl pattern look more defined and polished. This finish suits a dressier occasion where a soft, undone texture isn’t the goal.
Ask for: Smooth a small amount of curl gloss over dry curls, avoiding the roots.
16. Curly Pixie with Diffused Volume
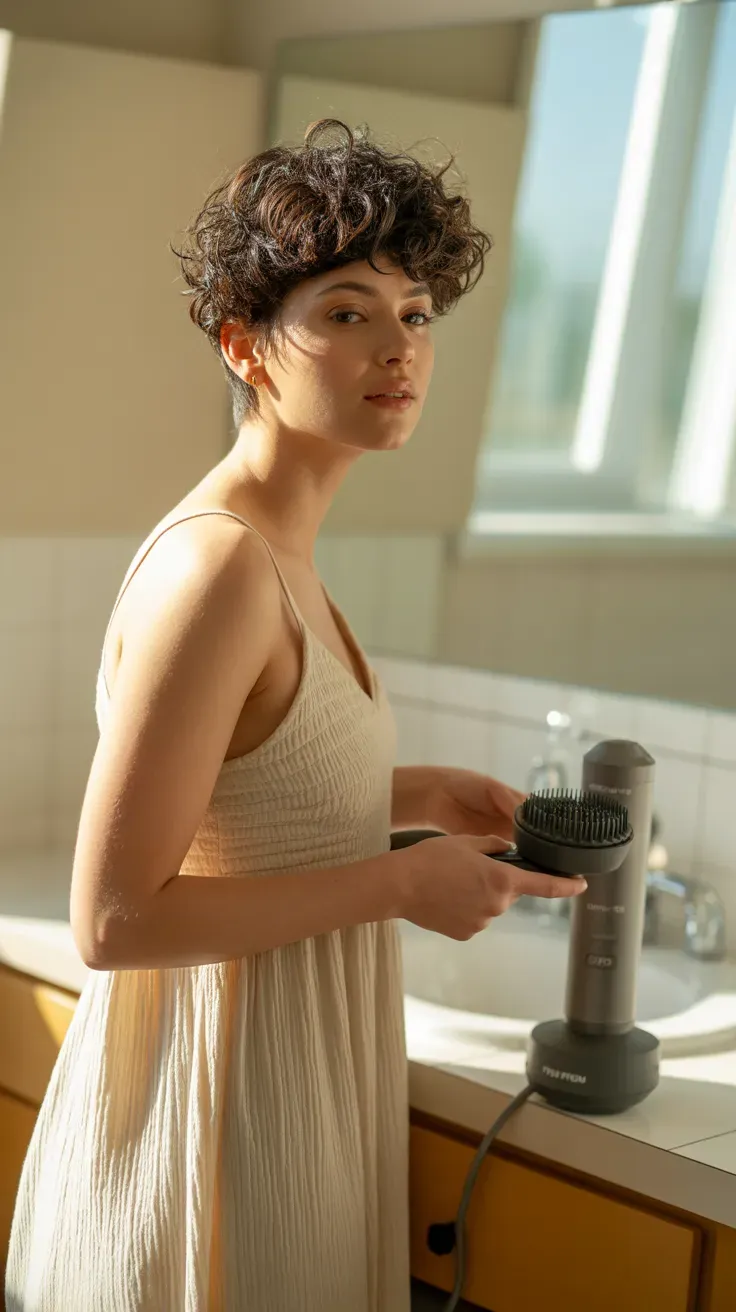
Why it works: Diffusing lifts curls at the root as they dry, building volume from the scalp rather than just shaping the ends. This method also causes less frizz and breakage than towel-drying or brushing curls out.
Ask for: Apply mousse to damp hair, then diffuse on low heat while cupping sections upward toward the scalp.
17. Curly Pixie with Soft Fringe
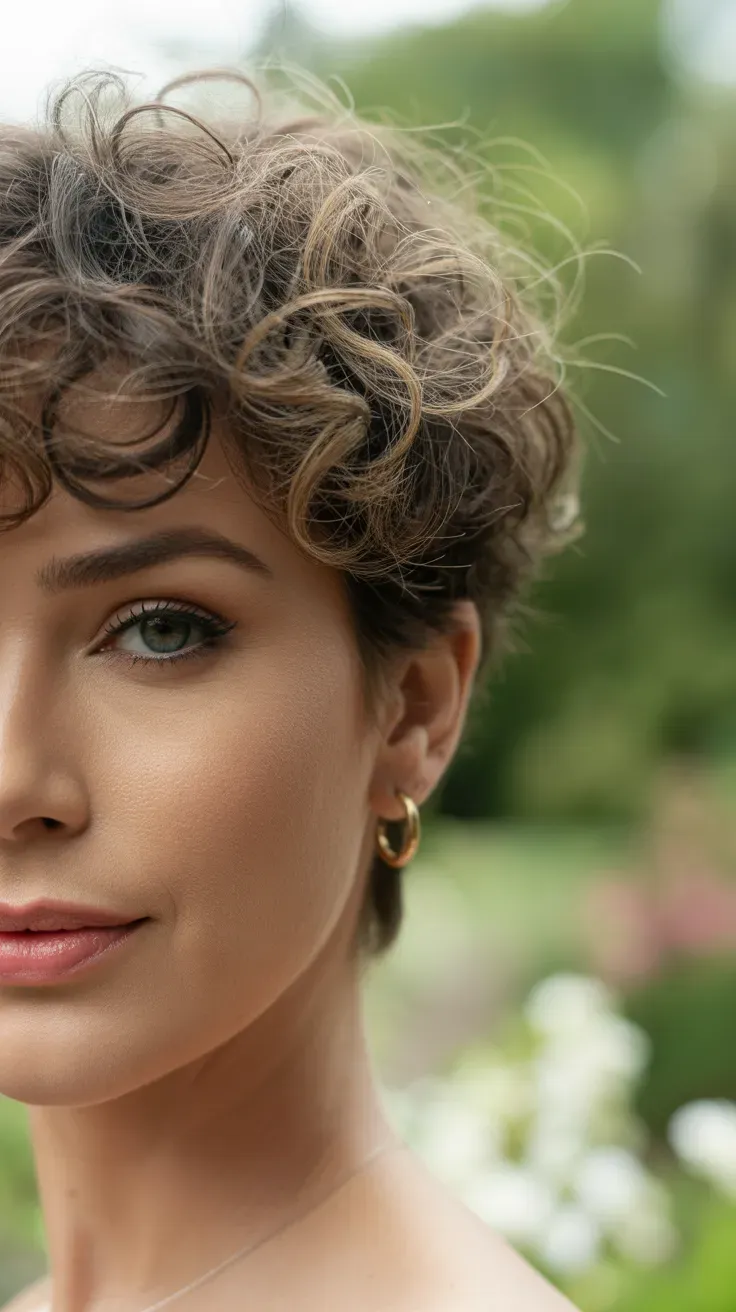
Why it works: A soft, curly fringe cut with varying lengths never looks like a solid, heavy curtain, which suits the finest curl types. It softens the forehead while blending naturally into the rest of the pixie.
Ask for: Ask for “a soft curly fringe cut dry, curl by curl, to keep it airy.”
18. Curly Pixie with Voluminous Crown
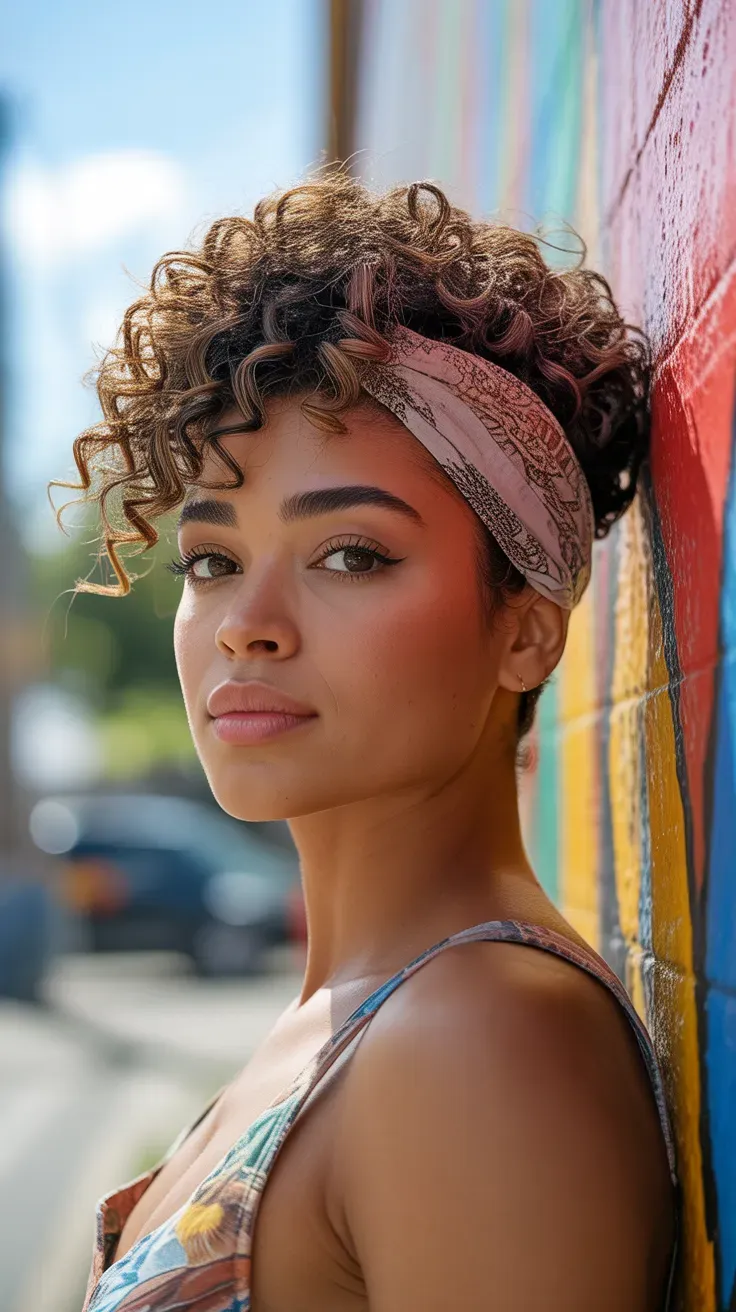
Why it works: Leaving the crown curls a bit longer than the sides and back creates a rounded, voluminous silhouette that stands out more dramatically than an evenly short cut. This bolder shape suits those who want their pixie to make a statement.
Ask for: Ask for “the crown left longer than the sides for extra height and volume.”
19. Curly Pixie with Twist-Out Texture
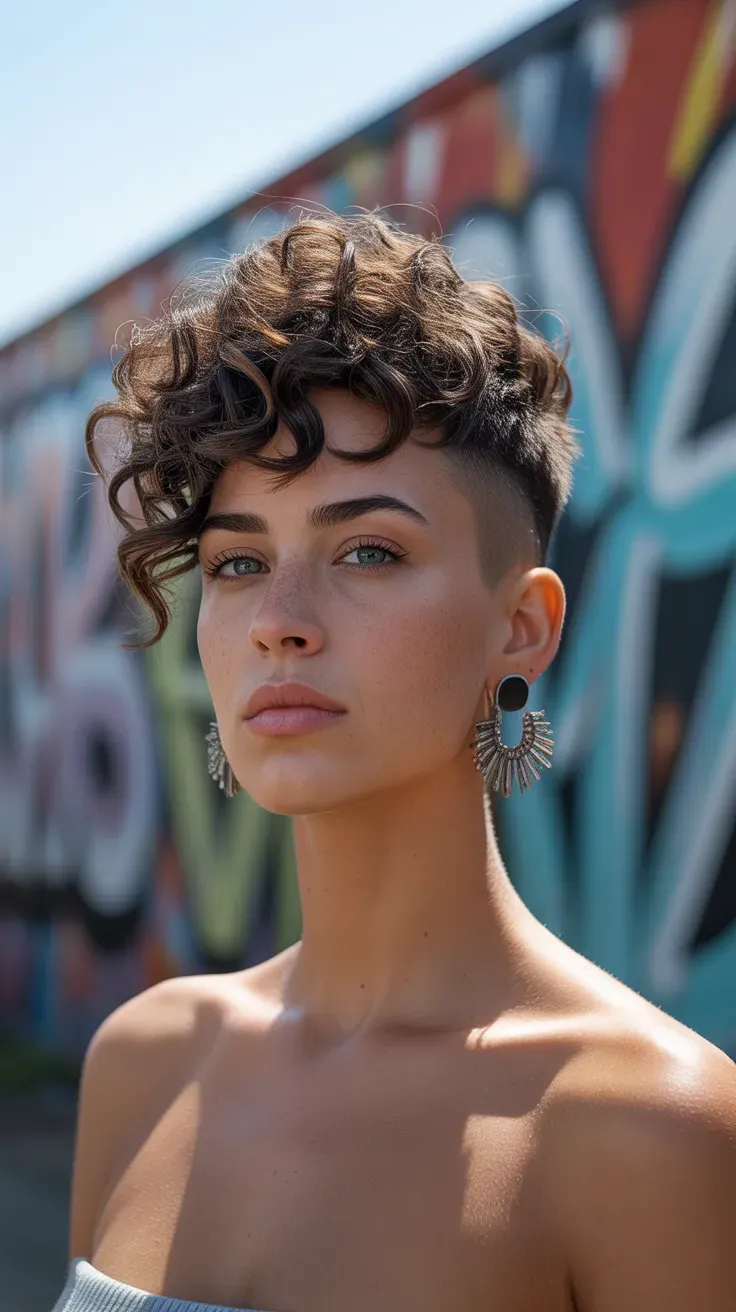
Why it works: Twisting small damp sections before they dry stretches and defines the curl pattern into a looser, more elongated shape that holds volume well even at pixie length. This technique also reduces frizz from curls drying loose against each other.
Ask for: Twist small damp sections and let them dry fully before gently separating with your fingers.
20. Curly Pixie with Bold Undercut
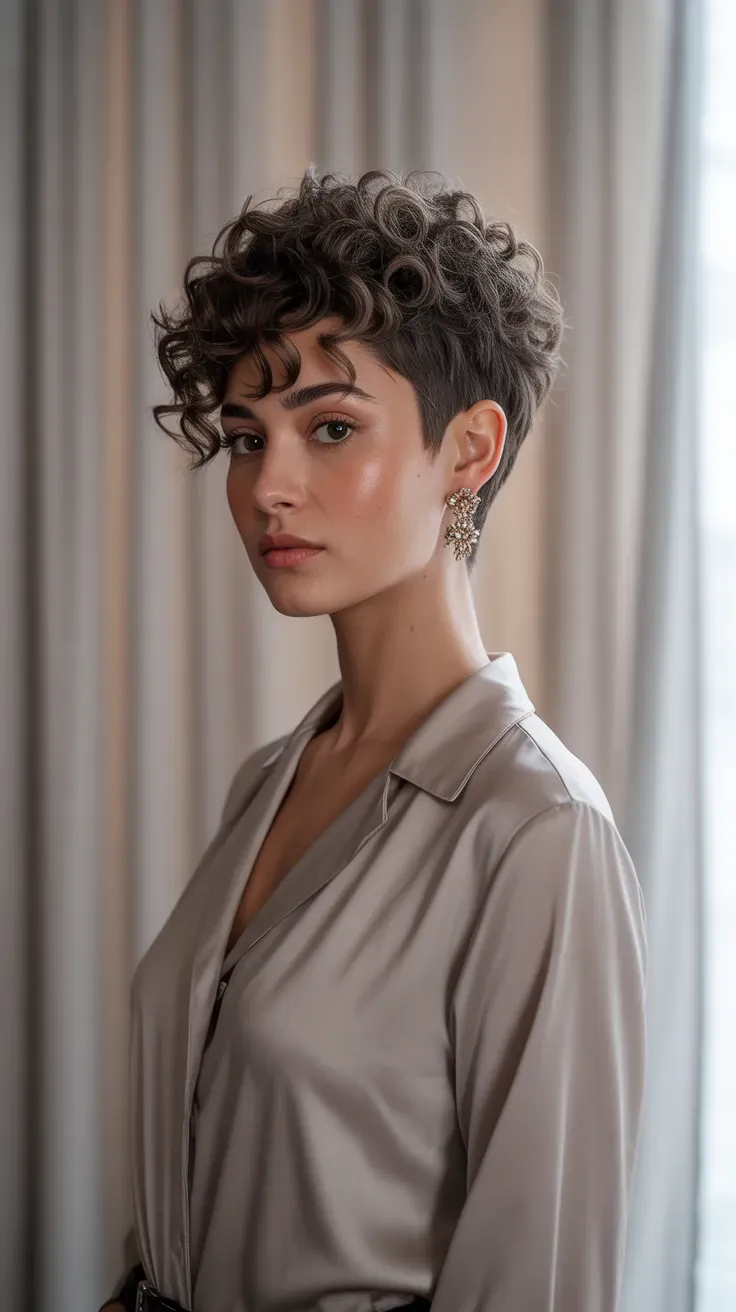
Why it works: A more visible, higher undercut creates a stronger contrast between the shaved section and the full curls on top, making the whole style read as bolder and more graphic. This version suits those who want maximum contrast and minimal maintenance underneath.
Ask for: Ask for “a higher, more visible undercut beneath curls left full on top.”
21. Curly Pixie with Loose Curl Pattern
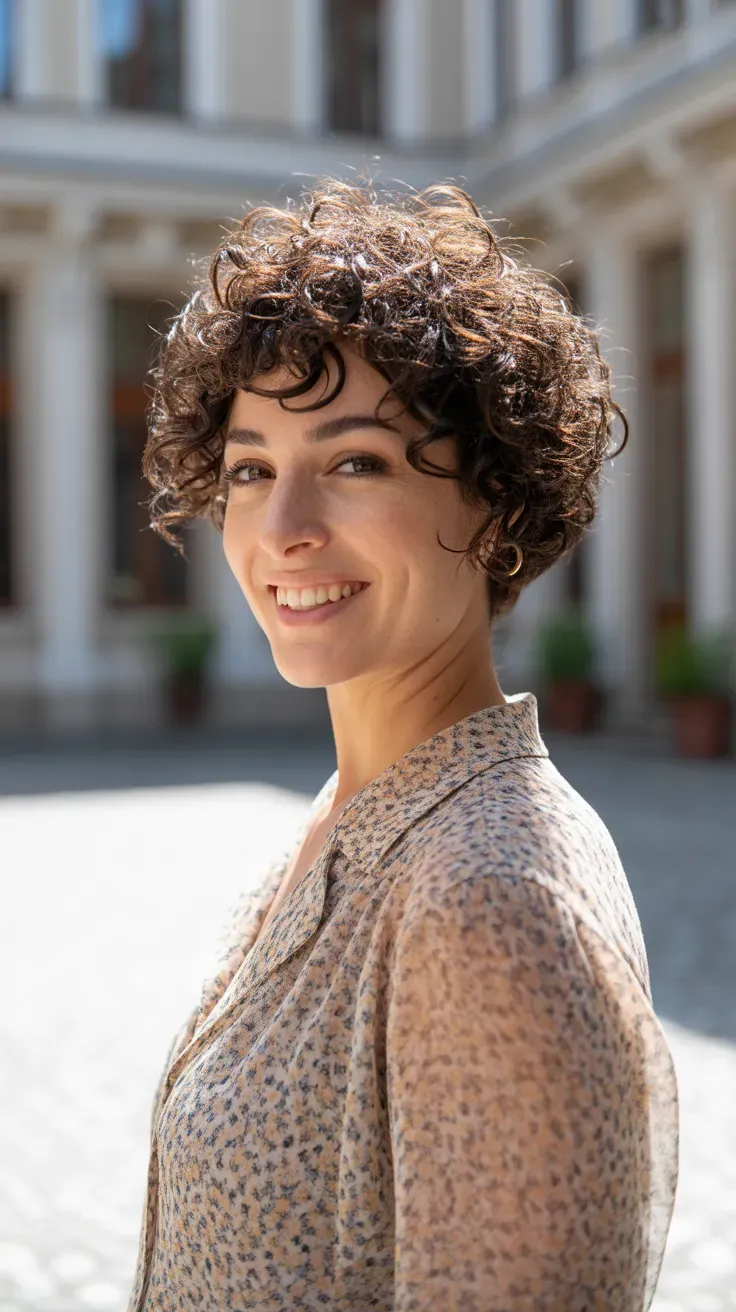
Why it works: For looser curl patterns, cutting the pixie slightly longer than a tight-curl version keeps enough weight in the hair for the curls to hold their shape without stretching out completely. This version suits those whose curl pattern is looser or wavier.
Ask for: Ask for “a curly pixie cut slightly longer to account for a looser curl pattern.”
FAQs
What’s the best curly pixie for very tight curls? A classic curly pixie, one with root lift, or a version with a subtle undercut tend to work best, since tighter curl patterns hold volume well even at very short lengths.
How to keep a curly pixie from looking too short or shrunken? Ask your stylist to cut it dry, curl by curl, rather than while stretched or wet, since curls shrink significantly once they dry and a wet cut can end up shorter than intended.
Is a curly pixie hard to maintain? Not especially — most versions only need a lightweight cream or mousse scrunched through damp curls, though regular trims every six to eight weeks help keep the shape defined as it grows out.
Wrap-Up
A curly pixie is one of the most rewarding ways to show off natural texture, as long as it’s cut with the curl pattern in mind rather than against it. Choose the version that matches your curl type and how bold you want the shape to be, and let your natural texture do the rest.